Flying for the first time is exciting, but it can also be stressful and cause a lot of anxiety, and this is why we have put together a list of tips for your first time flying.
What if you forget something? What if you get lost at the airport? What if you miss your flight? What if something goes wrong?
These are all common questions we hear members ask in our large community of solo female travelers prior to taking their first solo flight, but with 150+ countries under our belts, we’re here to answer all your what ifs with these first time flying tips.
From packing and preparation right up to boarding and landing at your destination, we’ve left nothing out. We’ve traveled by air literally thousands of times and to dozens of countries, and our members have done so too, so we know what to expect and can help you tame those nerves.
Complement what you’ll learn in this article with our comprehensive Travel planning resource, built with tips and tricks from decades on the road, and our Safety tips:
Contents
- 1 Visualise your trip
- 2 Rationalise your fear of flying
- 3 Get all the admin done
- 4 In-flight comfort prep
- 5 Make a list
- 6 Check your luggage
- 7 Understand the airport procedure
- 8 Keep your travel documents in check
- 9 Make security and passport check smooth
- 10 Find your gate ahead of time
- 11 Board early
- 12 Prepare for take-off
- 13 Be mindful of other passengers
- 14 Get ready for landing
- 15 Don’t panic!
Visualise your trip
Have you ever looked forward to something so much that when it happens you feel as if you had already lived it?
This is because our minds can believe we have already lived through an experience if we spend time visualising it. This is why one of the best ways to lessen anxiety when flying for the first time is to imagine what it will look like, every step of the way.
This article is filled with details which will help you do this, explaining what to expect at the airport, in-flight and upon landing.
Visualisation exercises can also help you while you are on a trip and feel anxious, stressed, or even near panic attacks. These exercises involve imagery and thoughts that can calm the mind and ground you back. They are a bit like taking a mental vacation.
Watch videos, even airline safety videos (some of them are fun to watch!) and imagine yourself onboard, you might be surprised how much this can help.
In the video above, a session we hosted with Gabriela Sirbu, from Migration of Emotion, we talked about some of that anxiety and how we can better understand it.
Rationalise your fear of flying
One of the most common concerns of first time flyers is the anxiety around flying, so in this section we will provide first time flying tips to manage this fear.
You may have general anxieties about leaving something behind which is easily overcome by creating a packing or flight list and checking things off once you’ve completed them. What we’ll focus on here is the dreaded fear of flying which is also known as aviophobia or aerophobia.
Knowledge is power, so we recommend you start tackling your fear of flying by doing as much research about flight safety as possible. Read up on flight statistics and you will soon realise that the odds of dying in a plane crash are too small to calculate.
In the US, there were 0.27 fatal accidents per million flights in 2020, this means that there is one fatal crash every 3.7 million flights worldwide. With around 16 million global flights in 2020, your chances of being involved in a crash are miniscule.
For comparison purposes, in the US alone, there were 38,680 fatal car accidents in 2020. You are more likely to win the lottery than to die in a plane crash.
Pro tip: Safety also varies by airline with many of them having a clean track record. Check out this website that rates each airline on many aspects including their safety track record. Seven stars means that there have been no accidents in the past ten years. See their safety criteria more in-depth here.
After you’ve understood the statistics, it’s time to face your fear by taking a course about the fear of flying such as those provided by some airlines like Flying with Confidence by British Airways, where you get to learn everything there is to know about planes.
We’ve also heard rave reviews about the book SOAR – the Breakthrough Treatment of Fear of Flying by Captain Tom Bunn which is filled with effective methods for dealing with flight anxiety. He also has a full online course you can take.
Taking a flying lesson could also help to stave off anxiety. You can contact your local airport to see if there are any classes available. Not only will you learn everything about planes and talk to the instructor about your apprehensions, but you’ll literally be in control of the plane.
This will help you understand how thorough preflight inspections are and the requirements and standards for earning the first pilot certificate.
If you still dread the flight, there are therapists who specialise in the fear of flying and can help you overcome your fears. They can also prescribe anxiety medication. There are pros and cons of taking sleep medication to calm your nerves and get through a long flight though, so consult with a medical professional to understand what’s available to you.
Get all the admin done
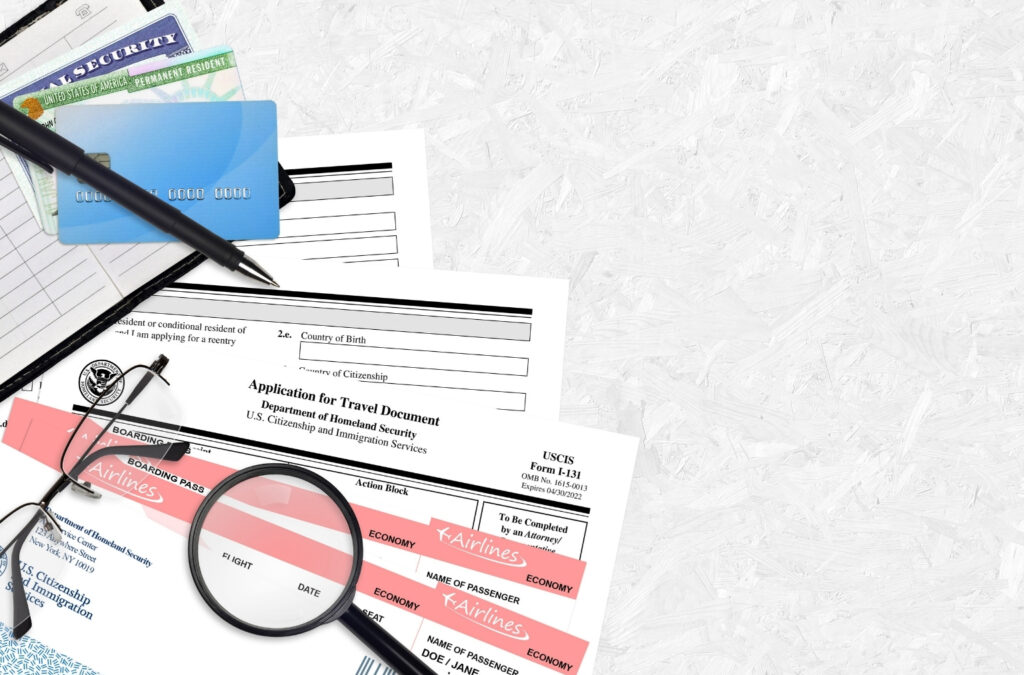
One thing many first time flyers (as well as frequent flyers) forget is to take care of all their administrative tasks before leaving. Here’s a checklist for you so you don’t have to deal with that sinking feeling that you forgot something, mid flight:
- Make sure you’ve organised roaming or an international calling plan if you’d like to use your phone abroad. Or stop it if you don’t as some mobile companies instantly start charging without your consent.
- Download or update all the apps you’ll need and all the videos or songs you’d like for offline use before your flight, as the airport wifi may be extremely spotty or slow.
- Alert your bank that you’ll be flying out, making sure all your cards will be available for international withdrawals if you’re leaving the country. If you use your card abroad without telling the bank, they may think it’s been stolen and freeze your account – not fun when you’re in a foreign country. That being said, have all the numbers of your banks and phone companies saved in your mobile as well as written down number should your phone get misplaced.
Top tip: When using your card abroad, you may be asked by a store clerk if you’d like to use your currency or the local currency, we recommend you choose the local currency as you’ll usually end up with a better rate.
- Exchange the money to your destination’s currency beforehand or online as it’s usually cheaper to do it anywhere other than at the airport. Exchange the cash with a reputable currency exchange service and do this at least one day before you fly.
- Get all of your documents ready for the flight. Consider the expiry date of your passport (most countries require a minimum of 3-6 months validity), understand whether you need any vaccine booster, any new shots or to take any medication (eg. malaria tablets).
- Purchase travel insurance. In the event that you trip and break your arm, trust us when we say that things can get extremely pricey. Travel insurance can save you up to thousands of dollars. Find the right travel insurance here.
- Save your e-ticket or boarding pass in your phone’s photo album (you can even take a screenshot) and star it so that it’s easily accessible even when you don’t have internet. Or do it the old fashion way and print it out.
Top tip: Have a specific small zip bag or passport pouch for all your most important documents and place it in a specific place in your travel handbag or backpack. This will save you the worry of looking for your documents when needed. It will also save you frustration when you get little bits of important paper like your boarding pass or receipts for duty-free purchases. Also, if you’re traveling internationally you may often be handed customs boarding cards before landing, while you’re on the plane.
In-flight comfort prep
A lot of first time flyers are most concerned about the flying part itself: Will I be bored? What will it be like to sit for so long? What happens if I need to use the bathroom? What will the in-flight food be like? Will I be able to sleep? Who takes the middle armrests?
In this section, we will discuss first time flying tips for your actual flight.
Pre-select your seat
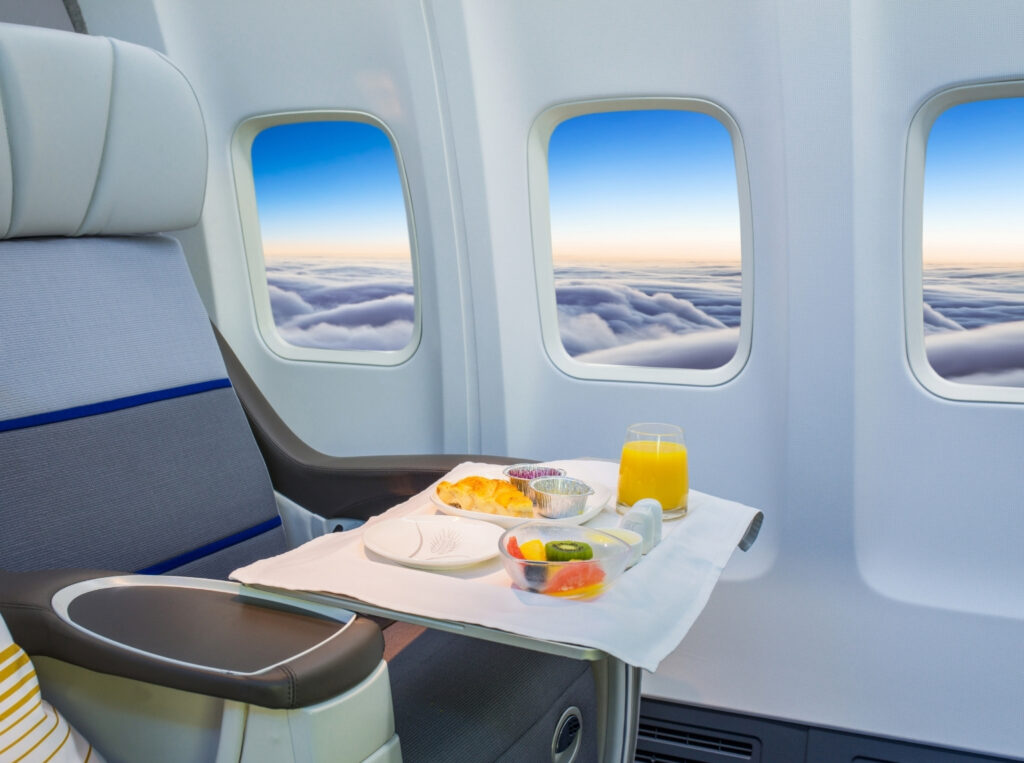
For your first time flying, we recommend that you pre-book your seat so that you take some of the inconveniences of flying coach out of the way from the get-go.
Seat preferences vary from person to person. I prefer window seats on overnight flights so I can sleep, and first row seating on day flights, for the extra space and the possibility to get out of the plane as soon as it lands.
If you have a weak bladder, you’ll probably like an aisle seat for easy access to the lavatories. If you sleep like a log, you may want to opt for a window seat so you don’t get disturbed. The last rows are usually the worst because the seats may not recline and you are usually near the lavatories, with the smell and constant traffic and noise that brings.
Taller folk might need more leg room, so the front row or an aisle seat are your best bet, and those who are scared of flying will be better sitting near the wing as you feel the least movement when going through turbulence.
Some airlines require an additional fee to book / choose your seat, whereas others allow you to do so for free during the booking process, either way, you will find out as you book your ticket.
If you don’t book your seat, one will be assigned to you at check in. You can still make a request and ask for your preferred seat (aisle or window) but the likelihood of your choice being available is often low, this is why booking your seat ahead of time is recommend. This may mean needing to check-in for your flight online up to 48 hours before hand, so you can access seat selection.
Pre-book your meal
If you have dietary requirements such as gluten-free, vegetarian or Halaal, and the airline you are flying with offers in-flight meals, you should specify this when booking.
Some airlines offer a wide range of meal options to choose from, Middle Eastern and Asian airlines are particularly good at that, whereas low cost airlines usually allow you to pre-book and pay for an in-flight meal ahead of time and typically up to 48h or 24h before the flight.
Pro tip: If meals are included, special meals (those with a dietary restriction), will be delivered first, though you’ll have to wait for the drinks cart like everyone else. I used to order special meals when flying for work so I could be done with my meal quickly and pass the tray back to the cabin crew before they brought out the meal carts. This way I could get more work done and didn’t have to wait for the crew to deliver everyone’s meals before collecting my empty tray.
In-flight entertainment
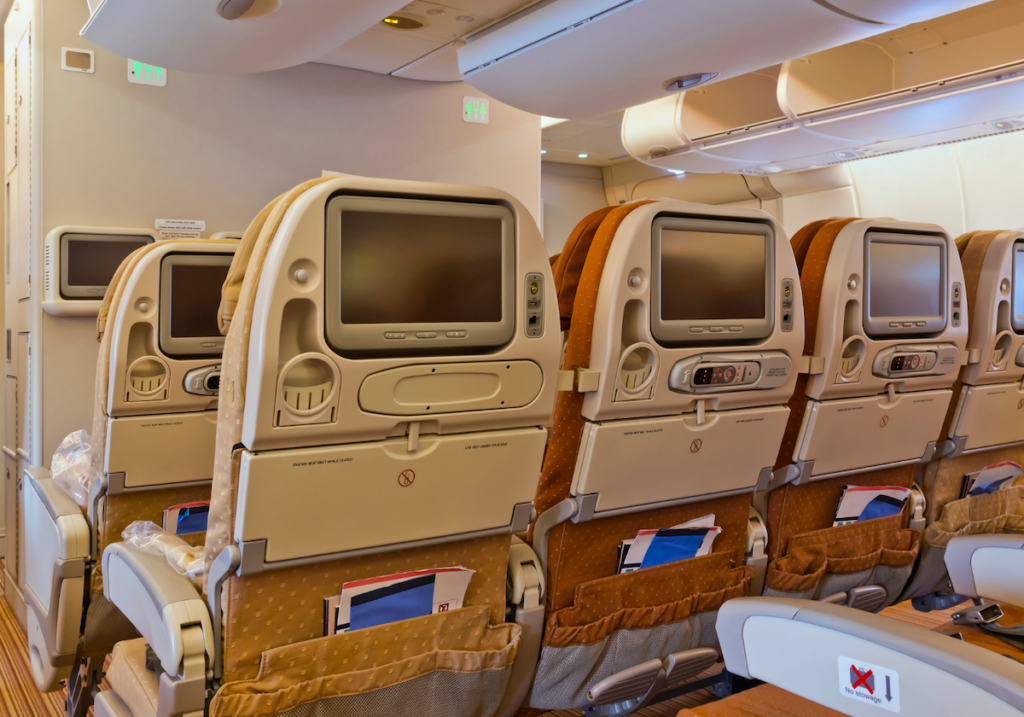
Most full service airlines offer in-flight entertainment, especially on longer haul routes. However, many are moving towards self-service apps you can download on your phone or i-pad instead of rear-seat TV screens, and can’t compete with the range of options and quality of platforms such as Netflix or Amazon Prime.
You can check if in-flight entertainment is available on your route ahead of time on the airline’s website, on Google Flights or on SeatGuru but, unless you are flying one of the top Asian or Middle Eastern full-service airlines, in-flight entertainment is usually limited or old.
We strongly suggest you download your favorite shows on your device and bring a charging cable, battery pack and set of ear phones, noise cancelling ones are particularly amazing in planes to cancel out all the noise, screaming children or snoring passengers (more common than you’d think!).
Many airlines now offer USB charing outlets in-seat, and you can verify if your aircraft does by finding out the aircraft model on your reservation and then going to SeatGuru to check in-flight facilities.
Wifi is becoming a feature on many flights but it can either be very expensive or extremely flippant, and sometimes it may not work at all, so we would suggest not relying on that.
Besides digital content, we also like to carry a book and a journal. Journaling is a fabulous way to channel your thoughts and ground yourself, especially when anxious or nervous. The act of hand writing uses 80% of our brain, as opposed to typing on a laptop or other device, and holding something like a pen can help bring us back to a calm state.
We also like to download music and meditation apps such as Calm which come with soothing playlists that help us sleep and relax on long flights.
In-flight accessories and snacks
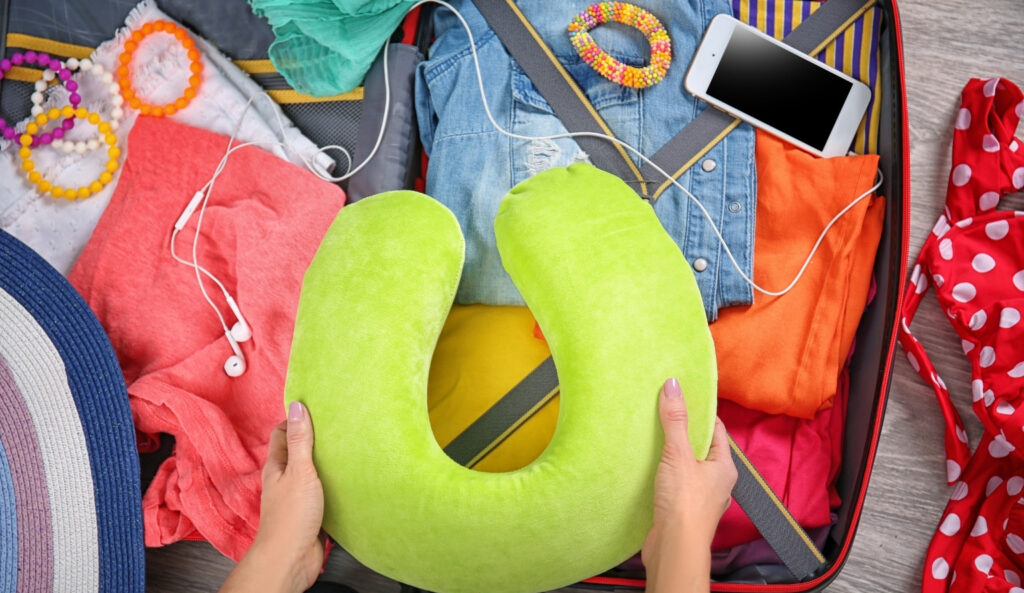
Long flights can take a toll on your physical wellbeing, especially on a crowded economy seat. Consider bringing a neck pillow, a sleeping mask, a blanket or large scarf to keep you warm (planes are always kept relatively chilly), ear-plugs and gum for the ascension (if your ears get blocked often).
Small snacks like power bars or fruit roll ups can be useful if you think you’ll get peckish, and we recommend packing your own water bottle which you can often refill at the airport before boarding.
Planes are always very dry and altitude and aircraft ventilation systems will leave your throat dry, but you can stay hydrated by drinking at least a glass of water every hour, avoiding alcohol as much as possible (we know, nothing tastes better than a glass of bubbly in-flight!) and packing a lip balm.
Bringing your own water bottle on the plane means you can save on single use plastic cups and make sure you remain hydrated without having to bother the crew (though you may have to buy / fill this up after you’ve passed through security if flying internationally, as they have limits on liquids).
A friend of mine always brings a face mask on long flights and proceeds to use it mid-air. If you don’t mind other passengers looking at you, this is a good way to fight in-flight dryness.
Top tip: All these small items can get lost on the back of the seat in front of you so we like to have them all handy in a pouch inside our bag which we can easily bring out when we board. Alternatively, we like to wear zip-up fleece jackets (it gets really cold in planes!) with inside pockets where we place all these items so we can have them handy.
Dress comfortably
Wear the most comfortable clothes possible for your flight. No one is judging you, and who cares if they are! Your shoes should be easy to take off so you can go through airport security checks, and you may want to ensure your socks have no holes in case you do need to remove your footwear.
If you are wearing a jacket or zip-up, expect that the airport security staff will ask you to take it off and place it in trays for the security check.
Avoid wearing expensive jewelry that you will have to take off at security checks and leave the stilettos in your checked luggage; airports are really large spaces and it’s a terrible idea to have to walk distances in high heels while dragging a carry-on.
Pro tip: If you are going straight to a work appointment, you can always pack a nice outfit in your carry on and change once you land. If you are flying business class, many airlines in major airport hubs offer showers in complimentary arrival lounges designed specifically with business travelers in mind, so check if your airline does. If you are flying economy, check if the airport offers such a service for a fee.
Make a list
List making, like visualisation, is a great way to ease the anxiety and stress around anything. The more prepared you are and feel, the less anxious you will feel.
Make a list with all the important documents on there, each bag you’ll need and all the admin tasks you’ll need to take care of. Remember small things like “switch off gas”, “turn off the water supply”, “lock the door” or “turn off all power”.
You may want to also jot down things to do once you land like people to contact, transportation to catch or what to do if your flight is delayed. Preparation and easy access to information is the key to reducing stress.
Use our Travel planning checklist to have some of those things under control.
Check your luggage
Suitcase sizes and allowances, and what you can and cannot bring onboard a flight may be a source of stress for your first time flying, but if you do a little research and prep, luggage is the easiest part of the journey to prepare for.
Types of luggage
Checked baggage is your larger bag that you’re not allowed to bring with you on the flight. You will need to check this in at the airport when you obtain your boarding pass (or if you’ve checked in online prior to arriving at the airport, you can go straight to the baggage check desk). Your bag is then stored in the hold of the aircraft and can’t be accessed during the flight.
Carry-on baggage, also called hand baggage, is the item that you’re allowed to bring with you into the cabin of the aircraft. It’s usually stored above you in the overhead compartment, or under the seat in front of you.
Carry-on baggage goes through security with you, so you will not be allowed to pack certain items like liquids, aerosols and gels (LAGs) over 100ml or items that can be used to stab or bludgeon another passenger like a Swiss Army Knife.
Most airlines allow carry-ons between 7-10kgs for free with the exception of low-cost airlines that oftentimes include no free hand luggage piece, but an allowance can be purchased at the time of booking or later on before the flight (you’ll learnt hat you often pay extra for most things on budget airlines).
Along with your hand luggage piece, most full service airlines (aka not low cost) also allow one personal item which is a small bag like a day backpack, handbag or rucksack. If you bring a laptop, this will not be included as part of the weight on most airlines. You can usually keep this under your seat during the flight, but sometimes it needs to be stored in the overhead compartment.
Top tip: Have a smaller bag like a toiletry bag in your personal item with all the things you’ll need for your flight like chapstick, sanitiser and a book. Then you can easily take it out when getting to your seat. It sucks having to dig through your larger carry-on for earphones or sleeping mask once you’ve sat down.
Very important: Always remember to lock your bags. If flying to / from or within the US, we recommend getting a TSA approved lock so the TSA staff can remove the lock without breaking it if they need to screen your baggage. All airports have a zero tolerance policy on theft, but that doesn’t mean there are people who won’t take advantage of a bag with no locks.
Luggage requirements & regulations
Here are some specific luggage tips for first time flyers:
- Always check your airline’s specific requirements & regulations. Some allow two items of checked baggage, while some only allow one. You may be allowed 30kgs or 15kgs of checked in luggage and there are also various dimensions you’ll need to take note of for both checked and carry-on luggage. Here is a handy guide but it is always best to check directly with the airline.
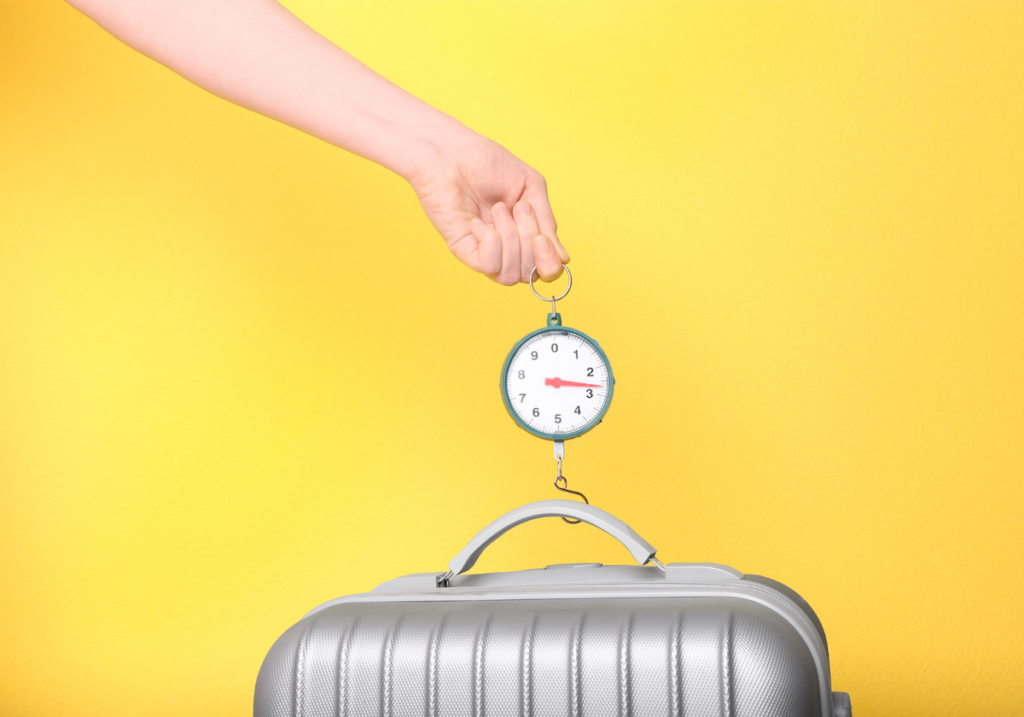
- Weigh your luggage at home (checked and hand carry) after you’ve finished packing with a portable hand scale like this one. Going over your allowance can be extremely expensive (even up to $50 per kilo).
- If you need to pack above your allowance, check the rates of the overweight baggage beforehand, most airlines will allow you to buy extra luggage allowance up to a certain number of hours or days before departure, but the prices at the actual airport when you check in are usually exorbitant.
- Consider upgrading your booking if you plan to bring extra luggage. Oftentimes, low cost airlines or saver fares include no luggage allowance and it can be more affordable to upgrade to a higher fare that has a larger allowance than to buy extra luggage.
Top tip: If you are traveling to a cold destination, carry your winter jacket with you on the plane. Not only will this save space in your suitcase but also ensure you are properly dressed when you land, lest the airline lose your luggage!
Understand the airport procedure
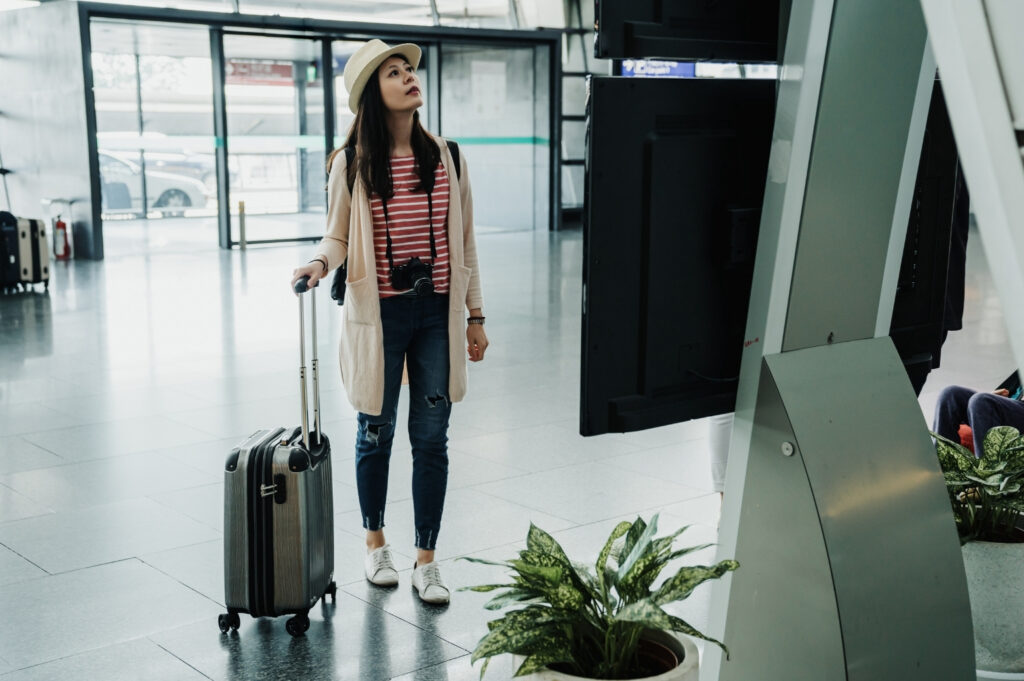
Well done, you have all your important documents, your admin tasks are all complete and you’re on your way to the airport after checking you have your passport for the millionth time. Welcome to your first time at the airport!
Firstly, double check that you are in fact at the right airport. We know this sounds silly, but in some cities, like New York or London, there is more than one airport and many people have arrived at the incorrect one (we even have once!). Airports also have several terminals and these may be far away from each other requiring a taxi ride which can make you waste a lot of time.
Remember to leave for the airport early so that you can arrive with sufficient time to check in, go through security and make it to your gate on time (maybe with some shopping time left), but don’t arrive so early that you can’t check in yet and need to wait around the departures area in the terminal.
Typically, airlines open check in from 3 hours before departure but domestic flights can open as late as 1.5h before departure. Check in can close as early as 1h before the departure for long haul flight and rarely later than 30min before the flight. These details should be listed on your ticket.
Nowadays, most airlines offer online check in which you can do up to 2 hours before departure (usually this service becomes available 48 hours before your departure time). You can then print your boarding pass before venturing to the airport or bring an electronic copy with a barcode or QR code you can scan directly from your phone on the airport reader without the need to go through check in.
Many airports also have self service check-in counters that will print your boarding pass and luggage tags for you, which you can attach to your suitcases and then bring them to the self drop area.
Pro tip: Self check-in machines typically do not allow you to get a good seat but rather assign one at random. If you want to make a request for a special seat you should head to the counter and check-in with an actual staff member.
Keep your travel documents in check
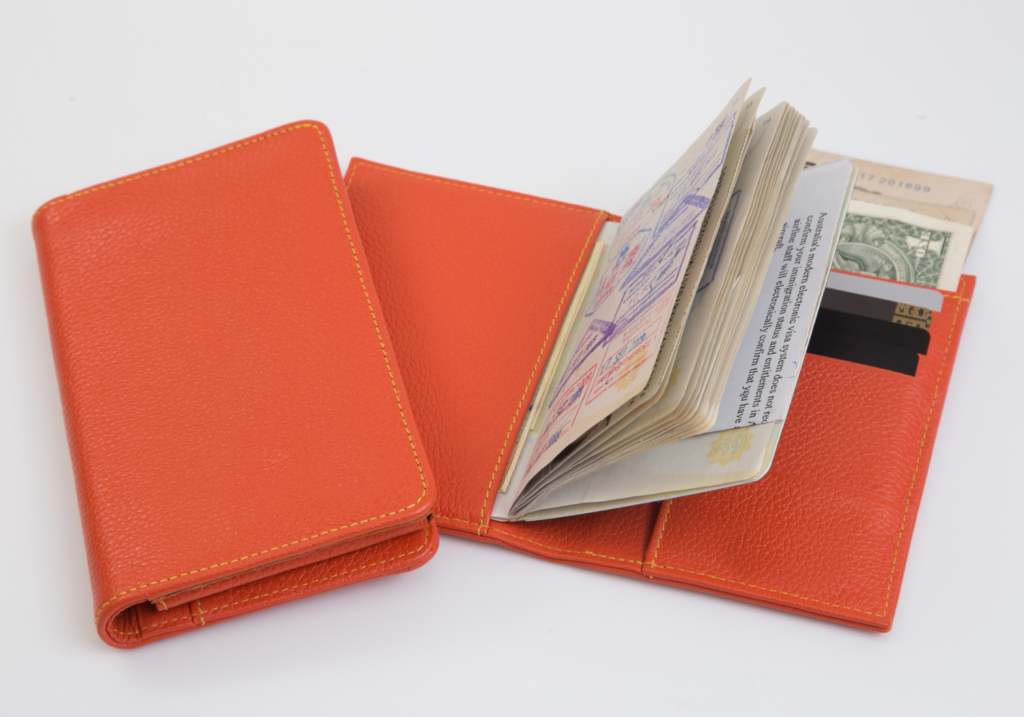
As we’ve mentioned, keep all your essential documents in some kind of pouch that is safe but also easily accessible. You’ll need to take out these documents a few times throughout your trip, so it’s best to have them handy and all in one place.
The most important document you’ll need is your passport for international flights or your ID for local flights or for flights within the European Union (if you are a resident). If these are left behind, you will not be able to fly, end of discussion.
Pro tip: Having a valid ID or passport is not enough for travel, most countries will require your passport to have at least two empty pages and a validity of a minimum of 6 months from the date of your departure to let you in. This is so that there is enough space for arrival and departure stamps and so that your passport is valid for the duration of your stay.
Depending on where you are going, you may also need a visa or other documents, like for example a pre-approval permit, an invitation letter, a passport sized photograph and cash to make payment. Make sure that you know this ahead of time and have researched the requirements in detail.
For example, some countries will allow you get a visa on arrival for free but may require a passport photograph, some may charge for the visa and only accept cash in US Dollars or Euro, some may only accept notes that were issues after a certain year (eg. 2009 in many countries in Africa).
Check if you need a visa for your trip on iVisa.
Pro tip: International vaccination cards are required to enter some countries. Besides COVID vaccination cards or negative COVID tests, some countries require showing proof of other vaccinations such as Yellow Fever if arriving from an endemic area (eg. when flying from Kenya to South Africa). You can check the vaccination requirements other than COVID on the CDC website. Other documents you may need include a health declaration or a passenger locator form.
You’ll need your flight ticket / boarding pass handy too. This can either be printed out or in the form of an e-ticket saved as a photo on your mobile device or tablet. You don’t want to arrive at the check in counter and have to sift through old emails to find your e-ticket. Save it and star it as soon as you receive it so that it’s done early and readily available.
Some airports will require you to show your passport and ticket before allowing you in. This is because they only allow passengers into the terminals to manage crowds. Sometimes, they will require you to show a printed version and an electronic one will not be accepted. Check this before departing for the airport.
Make security and passport check smooth
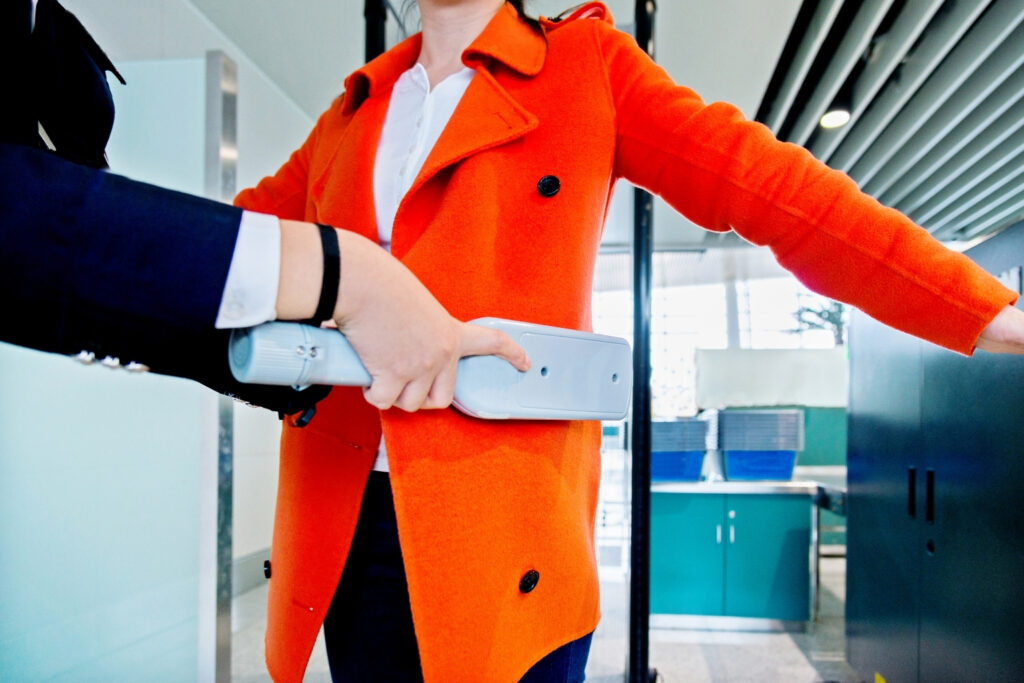
Going through airport security is not as bad as you think but it can be stressful if you are doing it for the first time or carrying items that you shouldn’t. It’s easy to prepare by simply visiting the airport website. In the case of the US, the TSA website lists all the airport security and screening requirements.
You’ll need to remove all metal objects including coins, phones, jewelry and empty your pockets (and sometimes your shoes) onto plastic trays that you’ll out through the x-ray machine.
Laptops often need to be taken out of your bag and scanned separately often on their own tray. Airport staff may also ask you to remove shoes and jackets and place those on trays as well, and this is why wearing easy to remove shoes is a good idea.
Be sure there are no LAGs (liquids, aerosols and gels) over 100ml/grams as these will be confiscated, and that you place them inside a plastic bag in the right measurements and on a tray.
After you’ve removed everything, you will have to walk through the metal detector. The order in which you go through is usually clear, but in some airports men and women have to go through separate metal detectors.
If the alarm sounds when you walk through, you may be asked for additional inspections like a pat down. Comply and move along. Wait for your items to be scanned and then collect them and walk through. If there is anything that looks out of the ordinary on the scan, airport staff may want to go through your bag. You will be asked to step forward when this happens.
If you’ve cleaned your baggage out before packing and packed everything yourself, there’s absolutely no need to worry. If you mistakenly bring a sharp object with you through check-in, security won’t interrogate you for hours, they’ll just confiscate it and that will be that.
If you’re flying internationally, you’ll now be going through passport control. They may be quite unfriendly, but don’t take this personally. They see thousands of people every day, and you are just another face to them.
You’ll need all your documents here again, so get your pouch ready. They may ask you questions about your trip, just answer directly and truthfully. You’ll get your first ever stamp on your passport and now you can enter duty free!
Find your gate ahead of time
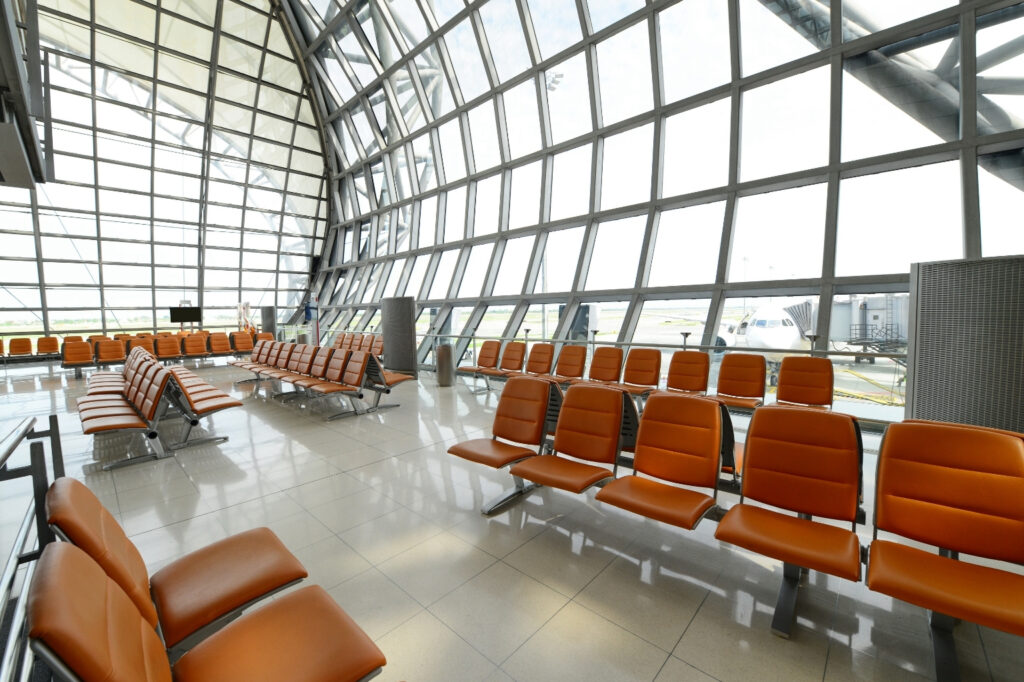
After passport check, you will enter a duty free area where there is shopping and dining. If you are flying business class, you will have access to the airline lounge, which can be found by looking at the airport map (if there is more than one airline lounge, choose the closest one to your boarding gate).
If you are flying from the native airport of your airline, there may be more than one lounge, or at least one per terminal. If you are not flying from the main airport of your airline, the business class lounge may be shared with the rest of the airline alliance (eg. Sky Team airlines may share a lounge).
If you’re not flying business class, or haven’t purchased lounge access (which can be done at many airline lounges as a one off cost), you can do some last minute shopping, wait at a bar or cafe, or simply go directly to the gate and sit in the waiting area.
But before you get down to last minute shopping or a drink, you should check where your boarding gate is and how long it will take you to get there. Some airports are really large and may require you to take a bus or train to another terminal.
Pro tip: You should regularly re-check your boarding gate while waiting for your flight in case it changes from the one printed on your boarding pass. Airports have screens showing all departure gates and flights at certain locations. Pay attention to announcements which may be made via the speaker system and which announces gate changes.
Board early
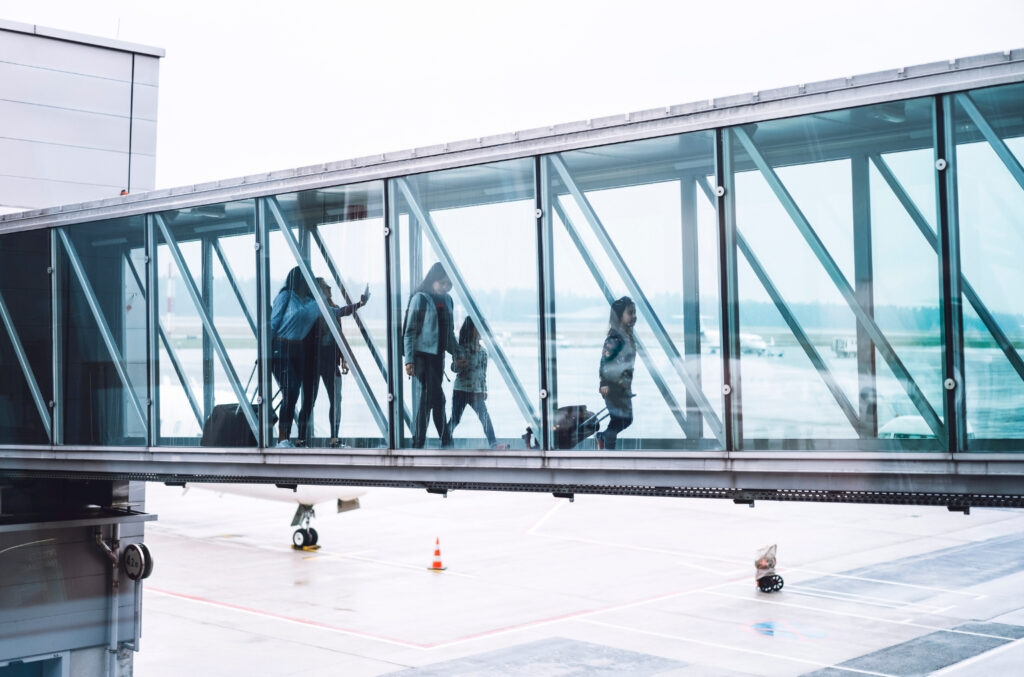
Make it to your gate early enough and then wait for your group to be called. Priority passengers like First and Business Classes will board first, along with passengers with disabilities and elderly or younger passengers. Passengers with status with the airline or the alliance will also get boarding priority.
When your boarding group has been called, line up in the queue and get your passport and boarding pass ready to be checked and scanned. Make sure you have everything before venturing to your gate, as it’s so easy to leave something on a seat or at a cafe/restaurant.
Pro tip: Be early in boarding and jump on the queue as soon as your group is called so that you can get on the plane first. The advantage of this is that you will have enough space in the overhead compartment to put your carry-on bag. Boarding late means there is less space left for your belongings and you may be asked to check them in. If you fly business class this is irrelevant and you can wait at the lounge until the last minute.
As you enter the plane the cabin crew will be there to welcome you and guide you to the aisle that leads to your seat (not all the way up to your actual seat). So keep the stub of your boarding pass handy (or your e-ticket open on your phone) as they will need this to identify which aisle you need to go.
Look up and the seat numbers will be easily displayed on the overhead compartment. If the ticket says 10B for example, that means you are in row 10 and seat B. Walk toward your seat, place whatever you need to in the overhead compartment, have a seat and place your personal luggage under the seat in front of you.
There is a small pocket in the seat in front of you to place your personal items you’ll need throughout the trip. The cabin crew are there to help if you can’t find your way.
Prepare for take-off
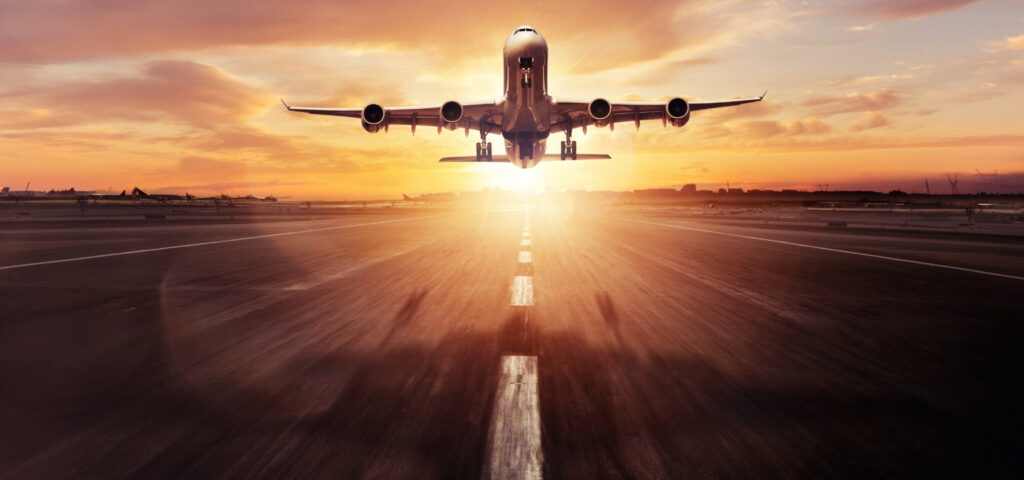
For some the most exciting part, for others, the most fearful. You’re now prepared for take off! You’ll need to sit through the safety presentation either provided by the cabin crew or it will be shown on the screens through the aircraft.
You will not be allowed to listen to or watch the inflight entertainment during this presentation, so you might as well listen closely, some of them are even very funny. After this, the aircraft may need to sit in taxi (not moving) for some time as there may be a delay on the runway. This is common and nothing to worry about.
The captain will introduce herself (or himself, but we’re pro female pilots!), the copilot and the cabin crew, and the seat belt sign will go on. There is a bit of commotion now as the aircraft starts up. This rattling is perfectly normal. You’ll need to put your phone on airplane mode now or turn it off. You can turn it back on once you’re in the air.
The plane then enters the runway and starts going at quite a pace until lift off. This is the moment where you may experience your ears pop due to the cabin pressure. Gum is good for this, as is yawning and swallowing. If you are feeling nervous, remember the visualisation exercises at the beginning.
As soon as the plane reaches a cruising altitude, things will quieten down a bit. You may stand up, stretch and go to the bathroom once the seat belt sign is turned off. You can also set your tray table down if you need.
We suggest you keep your belt on whenever you’re sitting, otherwise the cabin crew may wake you up if you fall asleep and you are going to go through any turbulence. Plus unexpected turbulence could send you flying. While these incidents are rare, they do happen.
Top tip: If you suffer from motion sickness, please do see a medical professional for this. You may want to get over the counter motion sickness medication just in case as a precaution.
Be mindful of other passengers
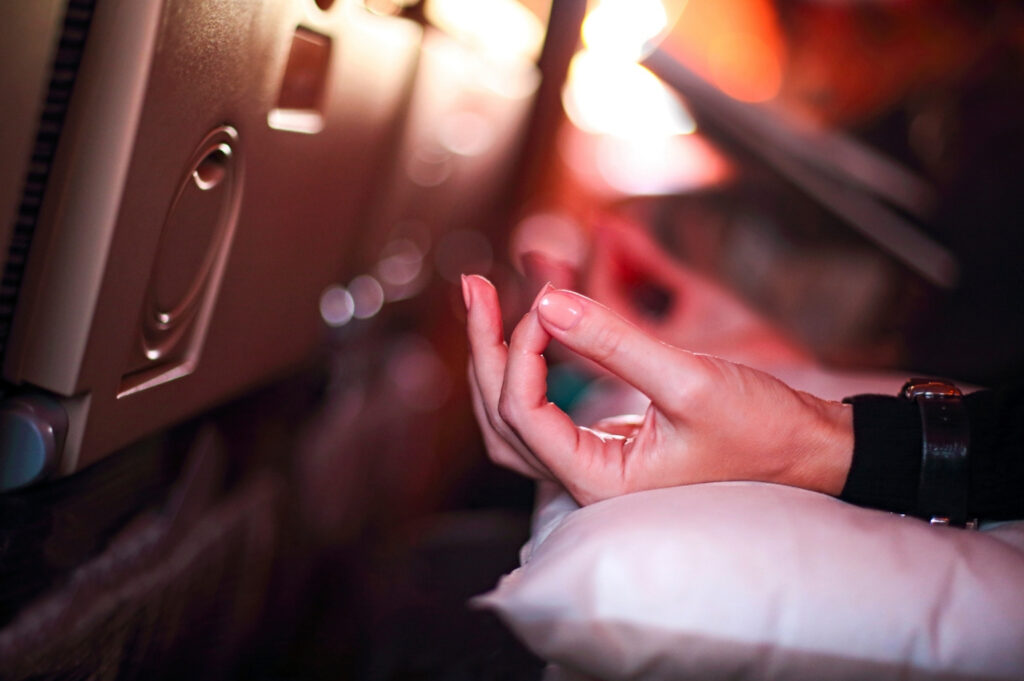
You’re now cruising at around 35,000 feet in the air. While this is basically a modern age miracle, you’ll get over the hype very quickly and most likely start to get bored. If it’s a long haul flight, you can start getting stuck into the onboard entertainment. Or you can set up your laptop and start watching your saved series or maybe you want to get some work done.
Remember to always respect your fellow passengers’ space though. The legroom is limited so don’t go and stretch your legs over into the next seat. Don’t kick or push the seat in front of you often, don’t flick your ponytail over your seat and don’t recline too far back (especially when the food is served).
If someone is doing something that annoys you, especially on long haul flights, try to kindly ask that person to stop. People are generally helpful, but not always. Although there isn’t consensus on what the right in-flight etiquette is, here is a list of suggestions for a happy flight.
If you’re traveling on a budget airline or a short flight, there will most likely be either no food at all or food that you can purchase at exorbitant prices. This is where bringing your own food comes in handy. Some airlines do not allow passengers to bring their own food onboard but snacks will never be an issue.
On long haul flights, the food will come at a designated time and will be provided row by row in both aisles simultaneously, usually starting from the back of the airplane, that means that if you are at the front you’ll be served last and your choice of meal may not be available.
If you ordered food with a dietary restriction, it will be brought to you ahead of the rest of the flight. Free drinks will be served several times during the flight, but if you need something to drink (or anything really) there is a button above your seat or on your arm rest, next to the light button that calls the cabin crew. They may not come instantly, but they will come as soon as possible. Ask them for whatever you need or walk to the galley and ask the crew.
On long haul flights, remember to stay hydrated and drink plenty of water. There is usually drinking water next to the bathroom (not in the bathroom!) where you can fill your flask up. And don’t forget to stretch. You are in a cramped space for a long period of time, so stretching is important in keeping your blood flowing and avoiding deep vein thrombosis.
Get ready for landing
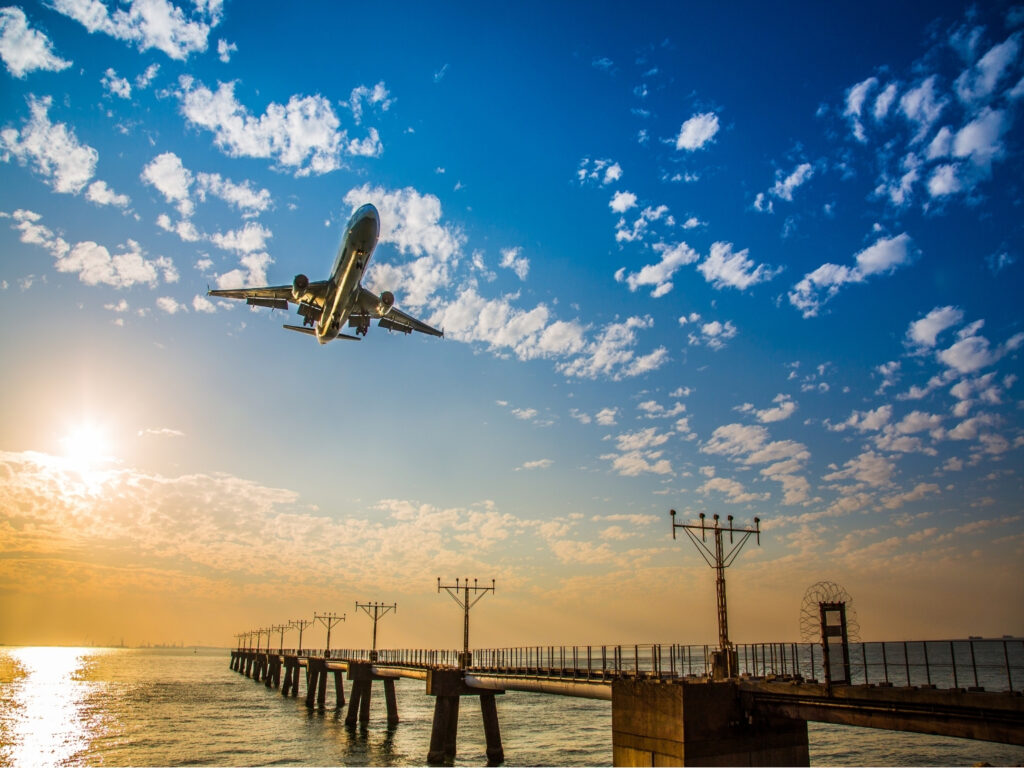
Around an hour before landing, the pilot will start announcing the descent. Time for you to buckle up and listen out for the cabin crew’s directions to place your tray table and the back of your seat upright.
If you’re entering another country, you may need to complete a landing form with all your information which cabin crew will hand out, so it’s always good to bring a pen. If you don’t have one crew members will let you borrow theirs. Don’t misplace this form or you’ll have to find another one upon landing and may end up wasting a lot of time.
Before landing, get all your items together and place them in your bag. Remember the list you made of all your personal items? Get it out now and check that you have everything. The plane will land and be directed to the gate.
Once the plane has come to a complete stop, the non-smoking sign will flash and turn off and you will hear a sound that indicates you can now stand up. Collect your carry-on baggage and your personal belongings, make sure not to leave anything behind because once you are out of the plane you won’t be allowed back in, even if you realise you’ve left something while still in the terminal. This is for security reasons.
Once the crew has been given the green light, they will open the plane doors, secure the air bridge, exchange documents with the ground staff and allow passengers to disembark.
Just as when you boarded, the plane may be parked away from the terminal building, so you may need to catch a bus to the airport.
Once in the terminal, follow the signs or the crowds to Arrivals where you will have to go through another passport control, collect your check in luggage and clear customs (international) or go straight to the luggage belts (domestic).
When you arrive at passport control, make sure to line up at the right queue. Most airports separate nationals from foreigners, in Europe there are lanes for Schengen nationals, and in Asia there are often APEC card holder priority lanes.
When it’s your turn, make sure to hand over your passport, landing card (if applicable) and other relevant documentation. You don’t need to show your boarding pass. It’s best to take your passport out of a passport holder so it can be more easily scanned.
If you need to get a visa on arrival, this may be done at a separate counter to that which scans and stamps your passport. Since you will have researched this in advance, you’ll know what is required. Look for tell tale signs, like a queue or counter for “Visa on arrival”.
Don’t panic!
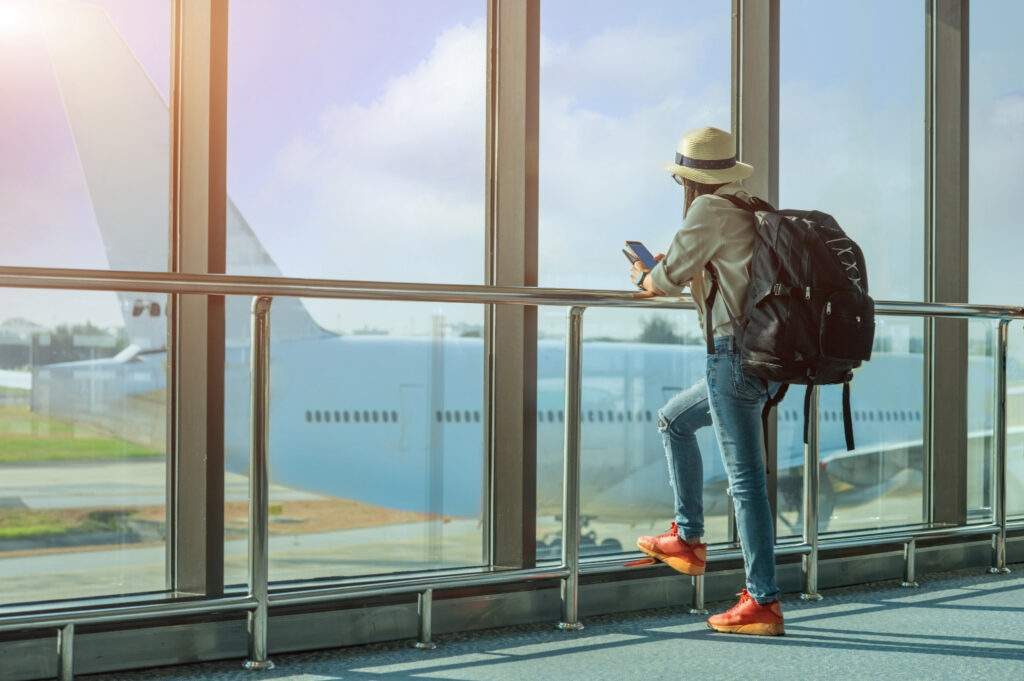
In the immortal words of Douglas Adams’ Hitchhiker’s Guide to the Galaxy: Don’t Panic!
Various things may go wrong on your journey. You may misplace your documents, your flight might be delayed, the airline could lose your luggage, someone’s tubs of kimchi juice may have leaked all over your luggage (true story), literally anything out of the ordinary may occur, so panicking will only make things worse and will not help at all.
One of the best first time flying tips we have is to play a game of “worst-case scenario” before your trip. Think about the absolute worst thing that can happen to you on your flight (other than a fatality of course) and then consider what would happen in each of these scenarios.
Missed your flight? Go to the airline counter and ask about your options. If it’s the airline’s fault, they’ll put on standby or rebook you for the next one, give you dining vouchers and maybe even a hotel room for the night.
Left your personal items on the plane? Contact the airline staff as soon as you realise and they will help you retrieve it. I once left a memory card with all the photos from my Rwanda trip (bucket list gorilla trekking and all) at the lounge in Addis Ababa and got it delivered to my flat in Singapore 3 days later.
Was your luggage misplaced or damaged? Report it to the airline. There is always an office at the baggage area for this purpose, and you will get an official report, a tracking number and a customer care line you can call in to check on status. Ask if they provide anything for the inconvenience. Then contact your travel insurance provider and get them to explain your benefits. Will they cover a new set of clothes? What are the limits?
My baggage was missing on my first flight to Japan and London. Luckily it was tracked and traced and the airline provided me some cash to purchase a few items of clothing and toiletries. My baggage arrived the next day, unscathed, at my hotel.
When something goes wrong, breath. Screaming at the flight crew won’t help, as they most likely had nothing to do with your mishap, and abusing airline staff may land you in more trouble than you were in to begin with. Be considerate, be patient and find solutions rather than escalating your problem, you have an entire trip to enjoy!
We have been through it all from 16 hour delays on Christmas to getting our luggage stolen. It was terribly aggravating at the time, but now it’s just a good story. You can get through anything, trust yourself, keep calm and don’t panic.
Have a great flight!

